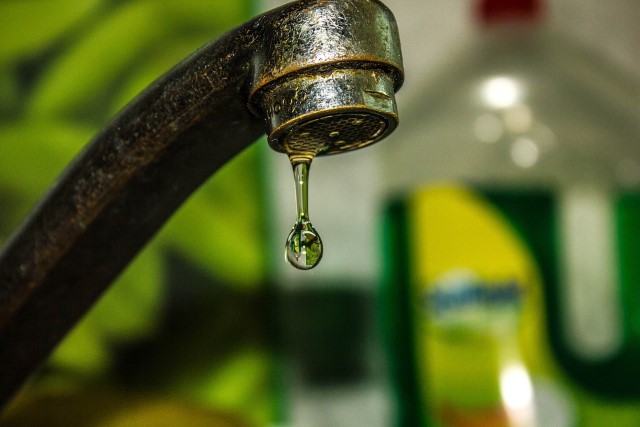
A leaky kitchen faucet is more than just a minor inconvenience; it can lead to increased water bills and potential damage to your sink area. Fortunately, fixing a leaky faucet is often a straightforward task that you can tackle yourself with some basic tools and a bit of know-how. Here’s a comprehensive guide to help you diagnose and repair a leaky kitchen faucet.
1. Identify the Type of Faucet
Before you start, it’s crucial to identify the type of faucet you have, as the repair process can vary based on the faucet design. The most common types are:
- Compression Faucets: Have separate hot and cold handles, and use a compression mechanism to seal the flow.
- Ball Faucets: Feature a single lever that controls both temperature and flow, using a ball mechanism inside.
- Cartridge Faucets: Typically have a single lever or two separate handles, using a cartridge to control the water flow.
- Ceramic Disk Faucets: Use a ceramic disk mechanism that controls the water flow and temperature with a single lever.
2. Turn Off the Water Supply
Before you begin any repair work, make sure to turn off the water supply to the faucet. Locate the shut-off valves under the sink—there should be separate valves for hot and cold water. Turn each valve clockwise until it’s completely closed. If you don’t have shut-off valves, you’ll need to turn off the main water supply to your home.
3. Plug the Sink Drain
To prevent small parts from falling into the sink and getting lost, use a sink plug or a rag to cover the drain while you work.
4. Disassemble the Faucet
The process of disassembling the faucet depends on its type:
- Compression Faucets:
- Remove the handle by unscrewing the screw that holds it in place. You might need a screwdriver or an Allen wrench.
- Take off the decorative cap and remove the packing nut with a wrench.
- Pull out the stem or cartridge and inspect it for damage.
- Ball Faucets:
- Use a screwdriver to remove the handle and the cap.
- Remove the ball assembly and inspect it for wear and tear.
- Cartridge Faucets:
- Remove the handle and then the retaining nut.
- Pull out the cartridge and check for damage or wear.
- Ceramic Disk Faucets:
- Remove the handle and the escutcheon plate.
- Pull out the ceramic disk cartridge and inspect it.
5. Inspect and Replace Parts
Once you’ve disassembled the faucet, check each component for signs of wear or damage. Common parts to inspect include:
- O-Rings and Seals: These are often the culprits behind leaks. Look for cracks or deformation and replace them if necessary.
- Cartridges: If the cartridge is worn out or damaged, it will need to be replaced.
- Ball Assemblies: Inspect for cracks or worn areas and replace if needed.
Take the damaged parts to a hardware store to ensure you get the correct replacements. Many hardware stores offer faucet repair kits that include common replacement parts.
6. Reassemble the Faucet
Once you have the new parts, reassemble the faucet in the reverse order of disassembly:
- Compression Faucets: Insert the new stem or cartridge, tighten the packing nut, and reattach the handle and decorative cap.
- Ball Faucets: Reinsert the ball assembly, replace the cap, and secure the handle.
- Cartridge Faucets: Insert the new cartridge, secure the retaining nut, and reattach the handle.
- Ceramic Disk Faucets: Place the new ceramic disk cartridge, reattach the escutcheon plate, and handle.
7. Turn On the Water Supply
With the faucet reassembled, remove the sink plug or rag from the drain. Turn the water supply back on by opening the shut-off valves slowly. Check for leaks as you turn the faucet on and off. If you notice any leaks, ensure all components are properly tightened and recheck the installation.
8. Test the Faucet
Test the faucet thoroughly to ensure it’s working correctly. Check for smooth operation of the handle and ensure there are no drips or leaks. Adjust the water flow and temperature to verify that everything is functioning properly.
Conclusion
Fixing a leaky kitchen faucet is a manageable DIY project that can save you money and prevent further damage to your sink area. By following these steps and addressing common issues like worn-out seals or damaged cartridges, you can restore your faucet to its optimal performance. Remember, if you encounter persistent problems or if the repair seems too complex, don’t hesitate to seek professional help to ensure a long-lasting solution.


Recent Comments